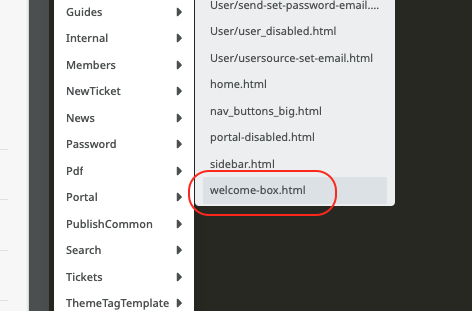
If you want to display a different Welcome Message on your Help Center for different Usergroups you can achieve this by editing the Portal > welcome-box.html template in the Template Editor to add different versions of a welcome message based on the usergroup of the current user.

To do this:
Go to Admin > Help Center > Help Center Design > Open Template Editor
Select the Portal > welcome-box.html template

Edit the code appropriately and save.
Here is an example of code you could use within this template:
{% if true or theme_option('welcome_box') and (theme_option('welcome_box').title or theme_option('welcome_box').message) %}
<div class="dp-po-homepage-welcome-box">
    <div class="dp-po-block">
			{% if app.user.isMemberOfUsergroup(3) %}
        <h1>
            Custom Header content for Usergroup 3
        </h1>
        <p>
            Body content for Usergroup 3
        </p>
			{% elseif app.user.isMemberOfUsergroup(4) %}
        <h1>
            Custom Header content for Usergroup 4
        </h1>
        <p>
            Body content for Usergroup 4
        </p>
			{% else %}
				<h1>
            My Default Title
        </h1>
        <p>
            My Default Content
        </p>
			{% endif %}
    </div>
</div>
{% endif %}
In this example, it would display separate custom Welcome Messages to Usergroups 3 and 4 and then will fall back to the default version for any other Users.
You can find the IDs for your Usergroups to input into the template in the Admin interface by navigating to CRM > Usergroups.
The IDs will display on the far right-hand side of the table by default:


