You can override the admin settings for Messenger in your embed code when you place it on your own pages
This is useful if you want Messenger to use varying settings across the pages you embed it on.
You can see a full list of the widget options in this article but I will run through a couple of commonly used examples below.
Overriding the default department
We might want to have the chat element of Messenger setup primarily for Customer Support and make them accessible through it from our helpcenter and various other pages on our site.
As Support will be the primary contact point via chat it makes sense to set them as the default option.

However we may also want customers who land specifically on our home page to be able to contact our sales team on chat.
Support Team
In this example for out Support pages we would use the default widget code as generated in Deskpro in Admin > User Interface > Messenger Setup > Add Widget and Chat to your site
Sales Team
For the sales page/Homepage we'll need to add some code to override the department.
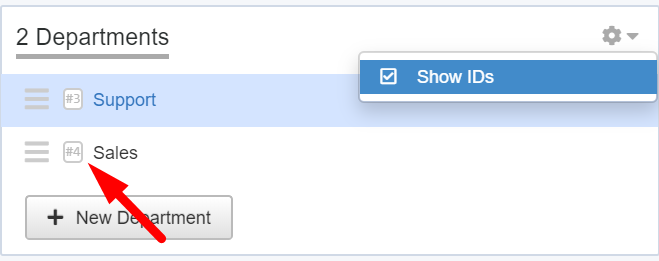
First thing you'll need is grab the Sales department ID from Admin > Chat > Departments:

In this example you can see my Sales department is #4
We'll then need to add the following to the options in the code:
 chat: {
department: 4
  },
You'll need to add it into the messenger options (below the language which is added by default):
<!--DESKPRO_WIDGET_LOADER::BEGIN-->
<script type="text/javascript">
window.DESKPRO_MESSENGER_ASSET_URL = "https://example.deskpro.com/assets/48004/pub/build/messenger/";
window.DESKPRO_MESSENGER_OPTIONS = {
language: {
id: "1",
locale: "en-US"
},
chat: {
department: 4
},
helpdeskURL: "https://example.deskpro.com", baseUrl: "https://example.deskpro.com/assets/48004/pub/build/messenger/",
}
</script>
<script id="dp-messenger-loader" src="https://example.deskpro.com/dyn-assets/pub/build/messenger/loader.js?v=1594806604"></script>
<!--DESKPRO_WIDGET_LOADER::END-->
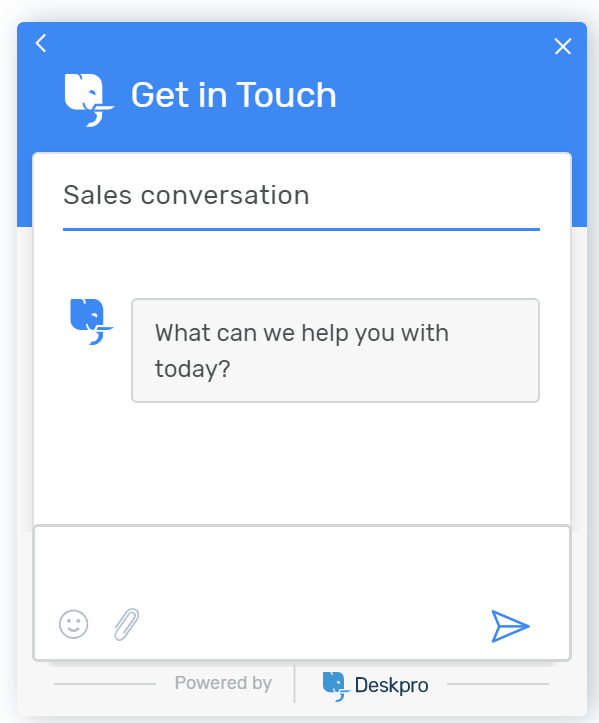
And we'll be passed straight through to the sales team when we start the chat:

Changing the appearence of Messenger for different sites
We may have a specific site that has a different colour palate and layout from our other sites and want to change it to suit the styling .
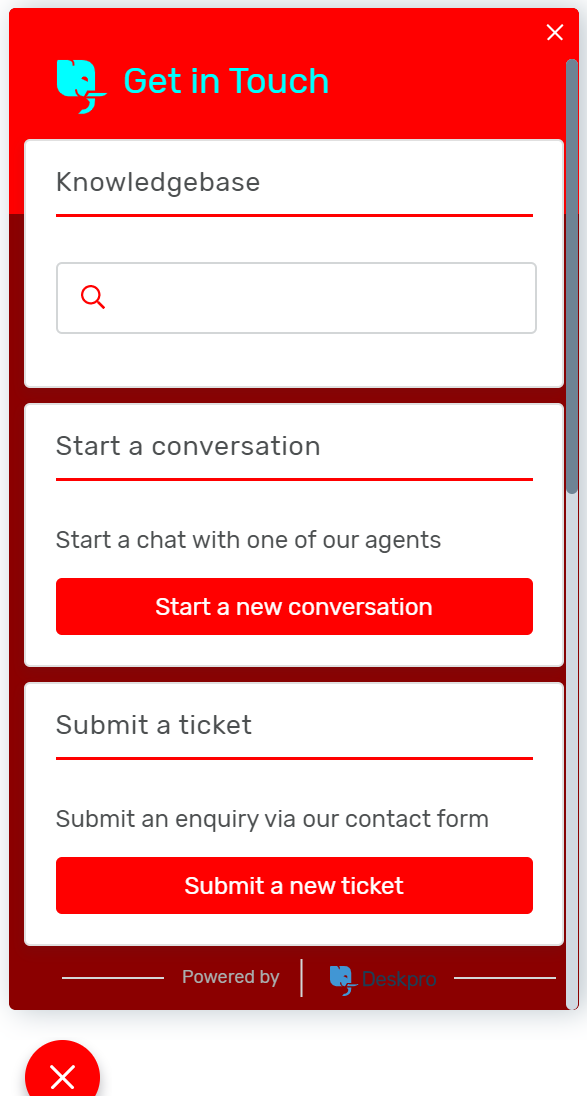
Again we can do this by adding in some override code. I'm using the below to update the colours and the position of the widget (so it sits in the bottom left rather than the bottom right):
widget: {
primaryColor: "#FF0000",
backgroundColor: " #8B0000",
textColor: "#00FFFF",
position: "left"
},
Which again we would place in the Messenger options:
<!--DESKPRO_WIDGET_LOADER::BEGIN-->
<script type="text/javascript"
window.DESKPRO_MESSENGER_ASSET_URL = "https://example.deskpro.com/assets/48004/pub/build/messenger/";
window.DESKPRO_MESSENGER_OPTIONS = {
language: {
id: "1",
locale: "en-US" },
widget: {
primaryColor: "#FF0000",
backgroundColor: " #8B0000",
textColor: "#00FFFF",
position: "left"
},
helpdeskURL: "https://example.deskpro.com", baseUrl: "https://example.deskpro.com/assets/48004/pub/build/messenger/",
}
</script>
<script id="dp-messenger-loader" src="https://example.deskpro.com/dyn-assets/pub/build/messenger/loader.js?v=1594806604"></script>
<!--DESKPRO_WIDGET_LOADER::END-->
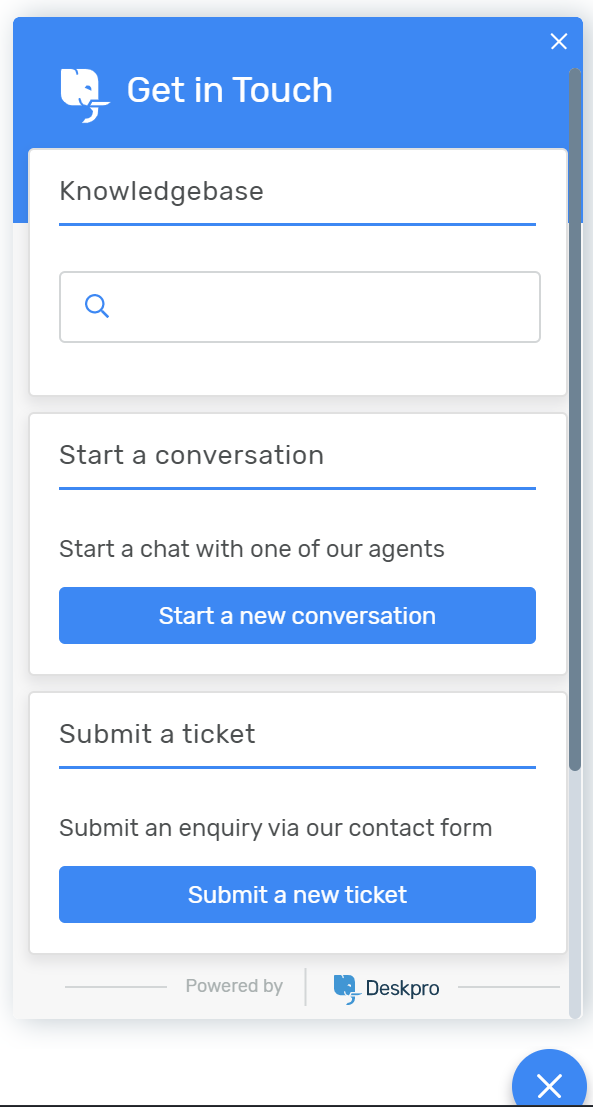
And it would change our default appearence from this:

To this:


