This article talks through the steps to switch to the Help Center theme.
1) Go to your Admin dashboard. If you have customized portal templates, click on the link to download a copy of the customized templates. These will be helpful as a reference if you wish to re-customize these templates later rather than using the default Help Center theme.

Then, enable the Help Center theme feature within the Admin dashboard. This will simply make the Help Center theme available in the portal editor. Nothing will be automatically changed with your current portal design.
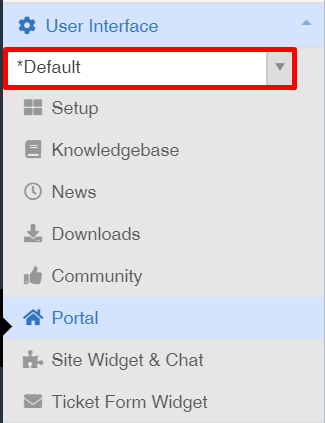
2) To begin using the new Help Center theme, go to Admin > User Interface > Portal.
If you have multiple brands set up, you should select the brand you want to edit using the brand drop-down menu first to ensure you are customizing the desired portal page.
3) Before selecting the Help Center theme, you should export a copy of your current portal design. This will download a backup zip file of your current theme which you can import later if you need to.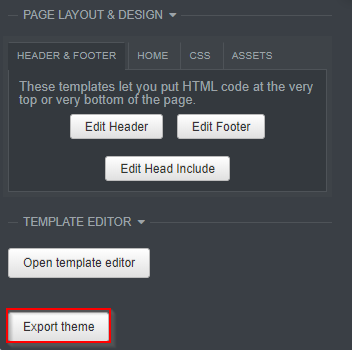
4) In the portal editor, select Help Center in the Theme drop-down menu.

Please note that any customizations you may have made to the previous templates or custom CSS will not be transferred across to the new theme, except for custom headers and footers, your custom colors and logos/assets which will be copied across where possible. However, you have a chance to make edits before you publish the new design. A copy of the standard/legacy theme that you were previously using will be retained in the Theme drop-down as a backup until the point that you save your changes in the portal editor to commit to the new Help Center theme.
5) Make any desired customizations using our built-in options. For example, change your brand colors or re-customize specific portal templates etc. You can read our more detailed guide on how to customize the Help Center theme.
6) As you make changes, you can click Preview Changes in the portal editor to preview how your changes look. Now you have a chance to review the results of your customizations in the portal editor and make any tweaks that are necessary before you publish the changes.
7) In the portal editor, review the text/phrases that are in use on your Help Center. If you wish to customize any of the phrases being used, you can edit these directly within the portal templates. If you have language packs installed and you notice some missing translations, you can contribute translations to the language packs via our crowd-sourced translation system or add a translation directly within your portal templates.
8) Review all final changes in the portal editor (navigate around the portal pages and do final checks) and if you are satisfied with the results in preview, click the green Save Changes button at the top of the editor to make the new design live.
There are some additional customization options we have added for the different elements of the Help Center which you may wish to utilize. Please check out the information below.
Knowledgebase:
News:
- Choose a splash image for each News post, to be displayed on the News feeds.
- Choose the color for each News category title.
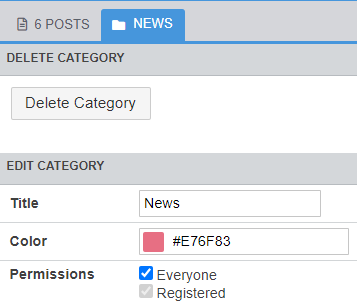
Result: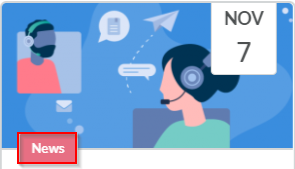
Community:
- Choose a splash image for each forum to be displayed on the Community landing page as well as a custom color for the icon that can be customized in Admin > User Interface > Community > Community Forums:
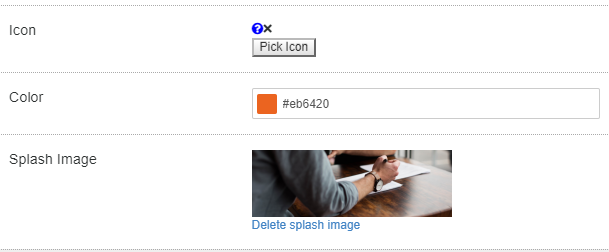
Result: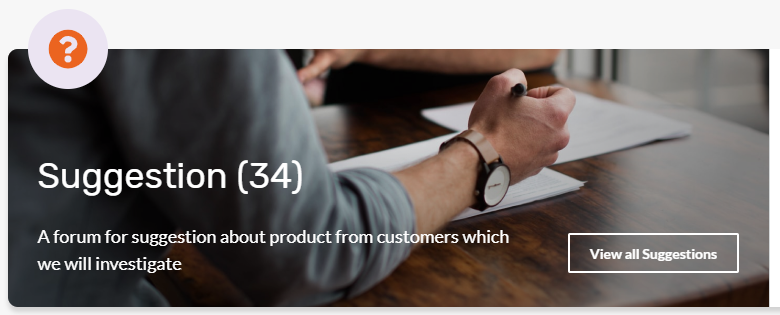


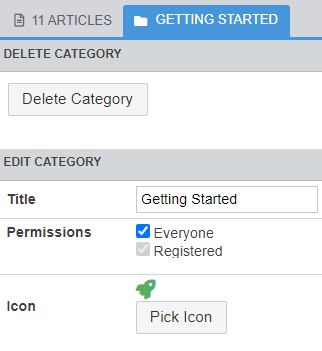 Result: