Managing a helpdesk isn’t the easiest job in the world. You have a lot on your plate, so finding simple ways to reduce the strain on you and your team is a priority.
Deskpro makes support simple for you and your customers with a highly-customizable 24/7 self-service portal. Our easy-to-use content publishing tools enable you to build a truly useful knowledgebase.
We know that it’s vital to give you every opportunity to handle support enquiries quickly and effectively.
You can use knowledgebase articles to provide help guides, how-to information, FAQ answers - any information that you want users to be able to look up for themselves.
To create an article from scratch:
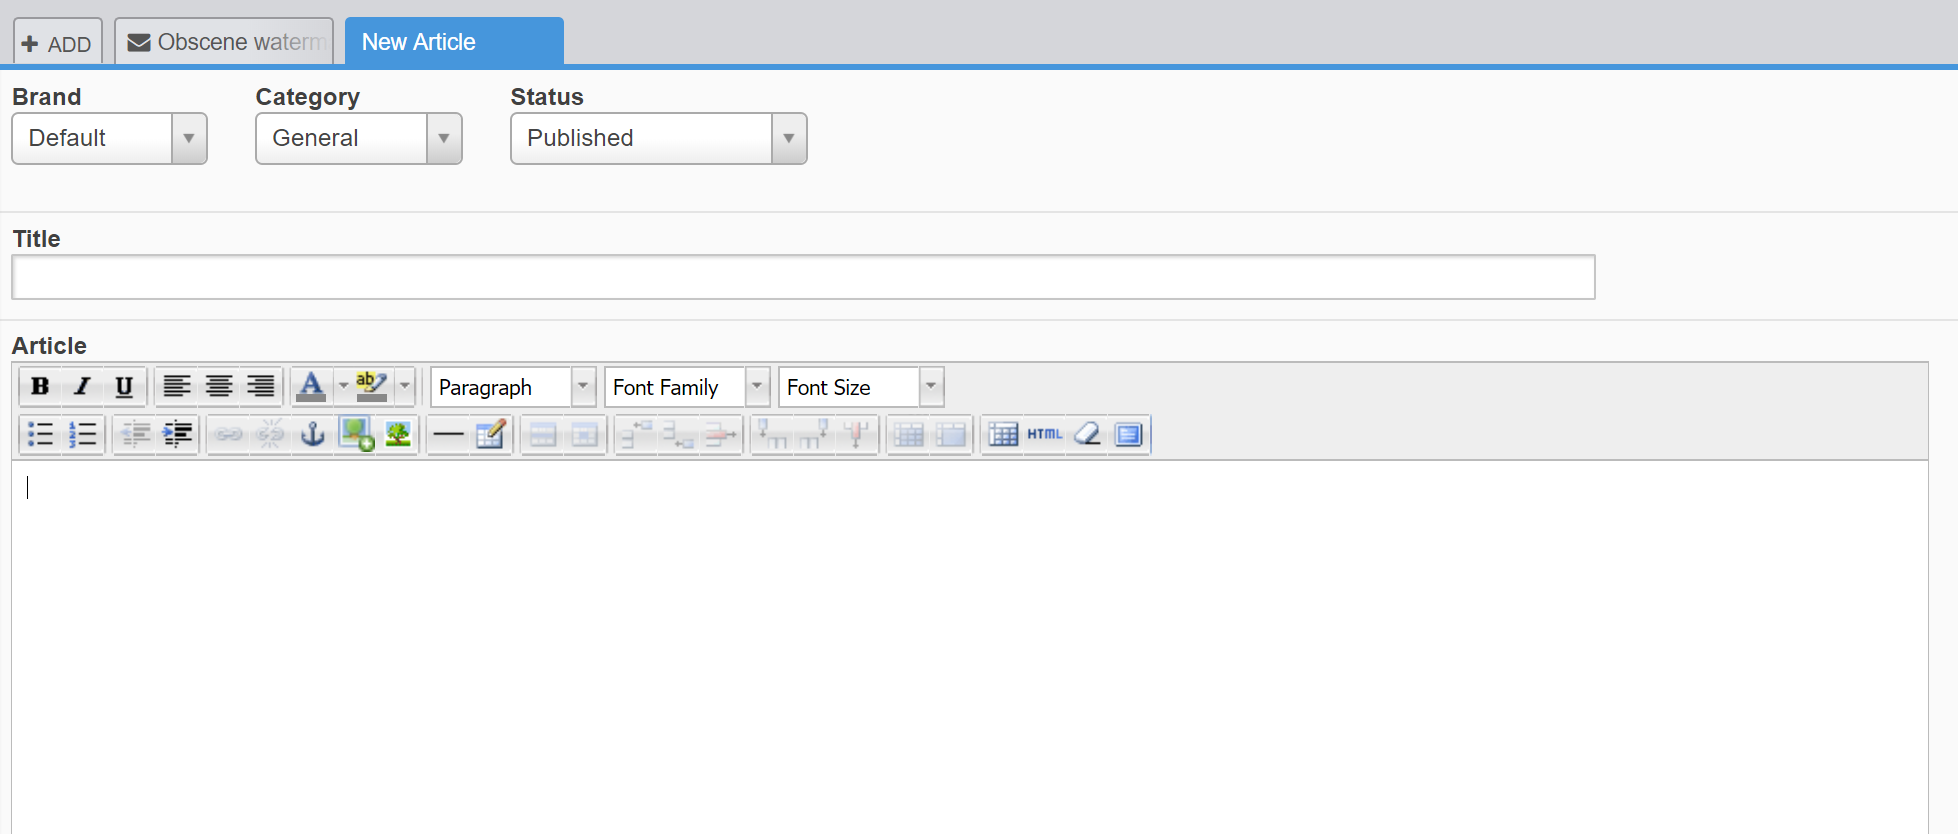
Select the New Article option from the +Add button in the content pane. The New Article window opens.
Select a Category that the article will appear in. You can add extra categories later.
Choose the Status the article should have when you save it:
Published - article visible to users on the web portal, appears in the Knowledgebase section of the filter pane
Unpublished - article not visible to users, still appears in the Knowledgebase section of the filter pane
Draft - article not visible to users, appears in the Pending section (under My Drafts for articles you create)
Enter a Title, and then write the article in the rich text editor. The editing controls are an expanded version of the controls found in the Tickets message editor. See the section Knowledgebase article editing controls below for more details.

Click Properties to add a label to the article.
Click Attachments to attach a file to the article.
Click Create Article to save the article with your chosen status.
And you’re done.
For more information on using publishing tools, refer to our guide.
Or read our next article in the 'Getting Started' series on running a report.

