


As Microsoft has disabled Basic Authentication for Azure AD logins, this means that Office 365 mail accounts must use OAuth2 in order to login to send and receive emails.
This article specifically describes how to configure your Office365 mail account for a Cloud account installation. If you wish to configure your Office365 mail account for On-Premise, please follow the guide available here.
Before adding your Office365 account, you will need to configure an OAuth2 app within Microsoft Azure. Please follow the guide here and make a note of the Client ID and Client Secret before proceeding.
We recommend logging into Deskpro in a Private Browsing / Incognito window during this installation, as active logins to Office365 in your browser could override the login section, and log Deskpro in as the wrong user.
While Deskpro Cloud does not login to the Office365 mailbox, some customers may wish to use their Office365 mail servers to send outbound mail. If you wish to entirely bypass sending mail through Office365, it is possible for Deskpro to send the emails on your behalf. Click here for a guide on how to allow Deskpro to send these emails instead.
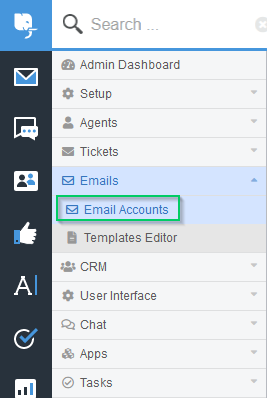
In order to add a mail account to your Deskpro Cloud account, first login to your admin panel, then navigate to Admin > Emails > Email Accounts
From here, if you have an existing Office365 email account configured in Deskpro, select that and skip to Step 5 - Using OAuth2.
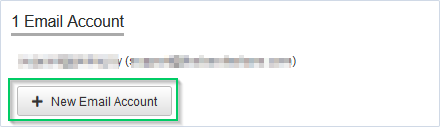
1. Click on ‘New Email Account’ in order to add a new email account.
2. Enter a name for the @<account>.deskpro.com email address you will be creating for this email account, and select Use a custom email address. Enter the address you wish to use as your public email in the available text box.
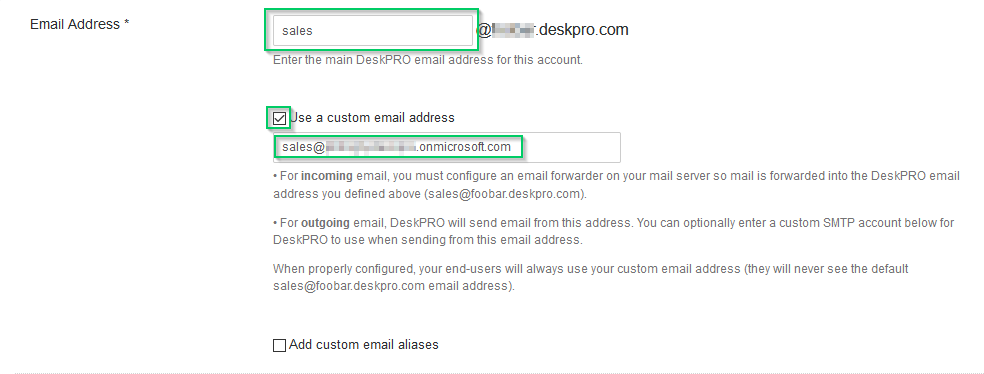
3. As Deskpro Cloud does not pull emails from an external mail server, you will need to configure your Office365 mail account as a forwarder to your @<account>.deskpro.com email address specified in the previous step. Please click here for instructions on how to configure forwarding on your account.
Please note: The account needs to be configured to forward emails from the Admin-level. Configuring a mailbox rule will change the FROM address on the emails, which will result in them being rejected by your helpdesk.
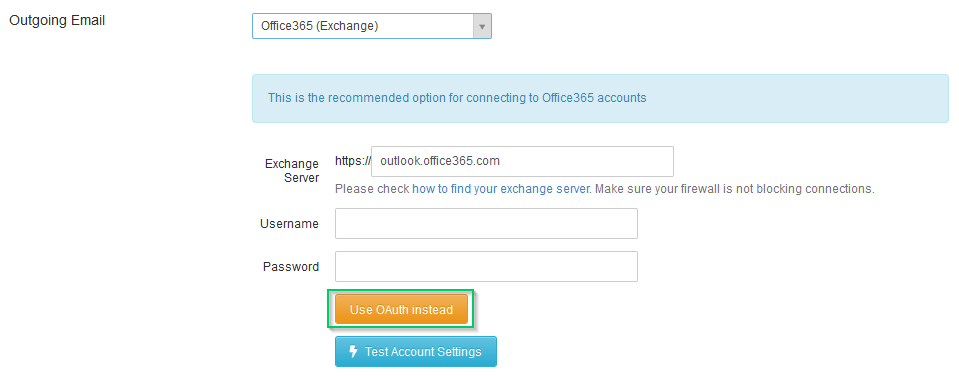
4. For Account Details, there are two options, Office365 (Exchange) and Office365 (POP3/SMTP). We recommend using the Exchange method for Office365 emails, but both methods should work. Please consult with your Office365 administrator to see if you have any limitations on how to connect to your mail account.
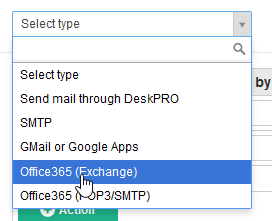
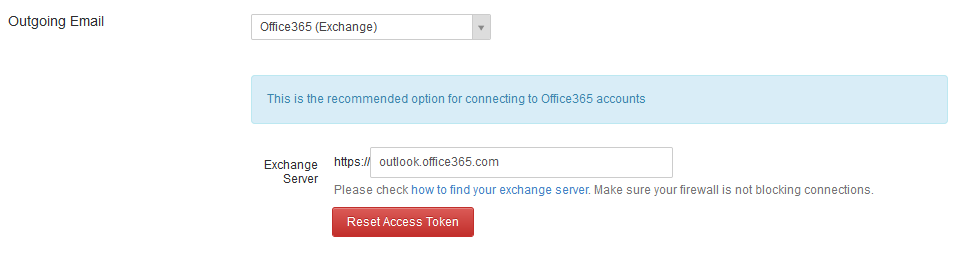
If you select Office365 (Exchange), you will have the option to configure a custom exchange server address if required. The default address should be correct for most users, but please confirm with your Office365 administrator.
5. Using OAuth2
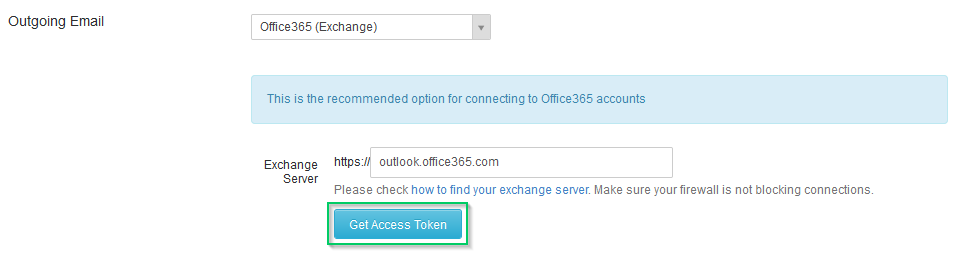
At this point you will have the option to enter a Username and/or a Password to authenticate your Office365 mail account, or ‘Use OAuth instead’. To configure your OAuth account, click that button, then the ‘Get Access Token’ button which now displays, and a window will display prompting you to enter your Client ID and Client Secret.
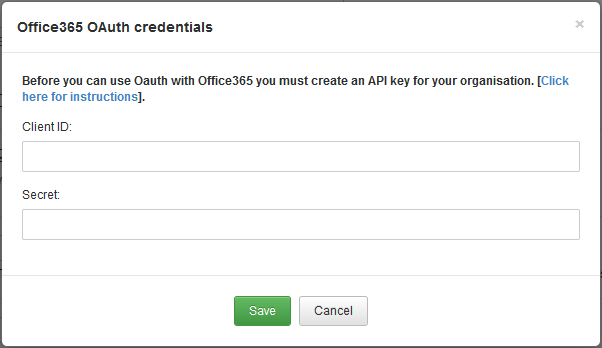
This would be where you would place your Client ID and Client Secret generated by the Azure AD app. If you do not have this information, instructions on how to generate them can be found here.
Entering your Client ID and Client Secret then clicking Save will then open a popup window asking you to sign into your Office365 account. This account will be the one you wish to add to Deskpro.
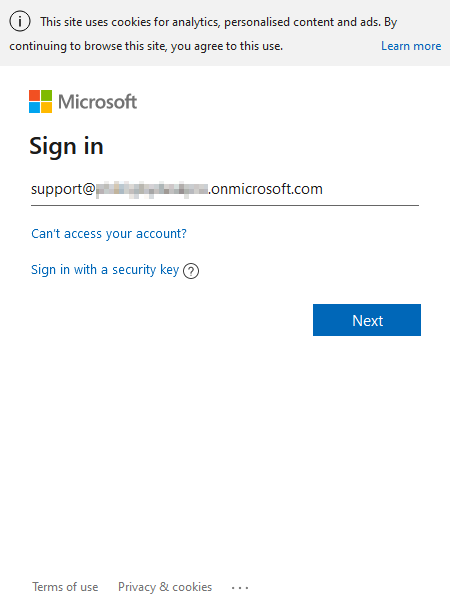
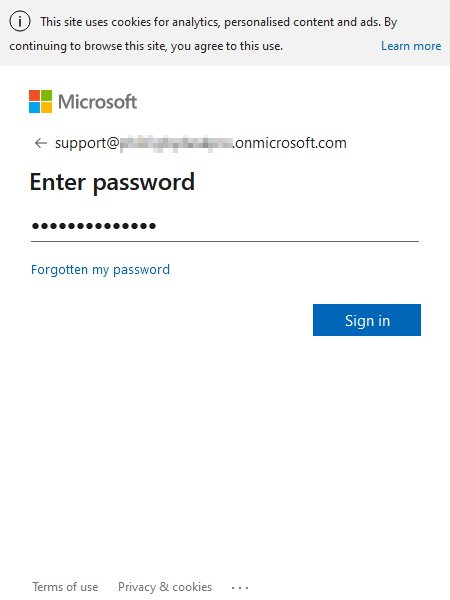
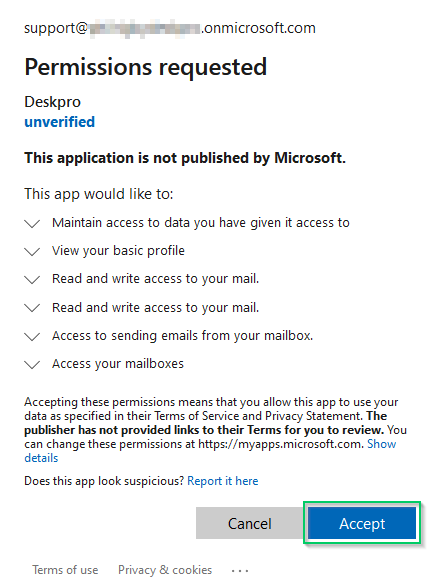
Once you have signed in with your login credentials, Microsoft will prompt you confirm the permissions requested by Deskpro. Click ‘Accept’ to continue. If you have any form of Multi-Factor Authentication enabled for this account, you will also be asked to confirm your login through that.
Once complete, the Get Access Token button should now be red, and display Reset Access Token.
6. Finally, configure the brand and department you want emails sent to this account to create tickets under, and click ‘Save’.
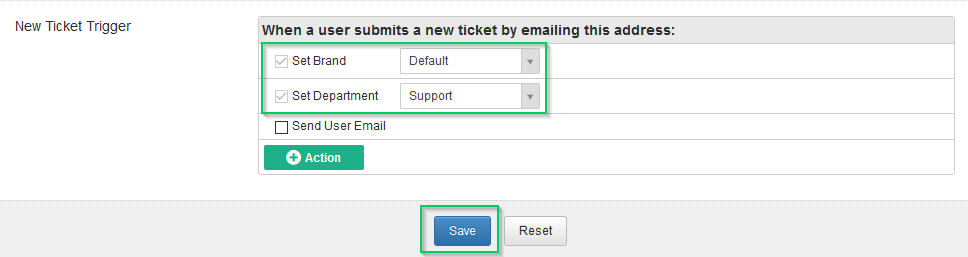
Your Office365 email address should now be configured to send and receive emails.
Nuevo comentario
Por favor, ingresa o regístrate para enviar un comentario.